Topic category: User side tutorials
Hello! I have seen many mods that only use the MCreator texture maker, so I though I minus well give a tutorial on making good textures
First, I suggest using a nice resource pack creator for the making of the textures. This is what I usually use: https://minecraft.novaskin.me/resourcepacks
So yeah, open that link and find a random texture and clear it so you will now have a blank canvas.
A few reasons why I made this:
First of all, in the MCreator 1.8.3 version, there is no color picker and is very limited. So using outside programs will be the best option.
Starting up
First, I suggest make a folder to store all your textures once you are done. Nova skin has a download option so keep that in mind. Also, make sure you go into Textures not Models, as with models, you cannot download the image, therefore losing your work.
The real texture making:
First, make a basic shape of whatever thing you want. In this tutorial, we will be making a texture. It will be a 32x32 crossbow. You may use it in your mod if you wish, but I would be more impressed if you made a different one 😊

Stage 2
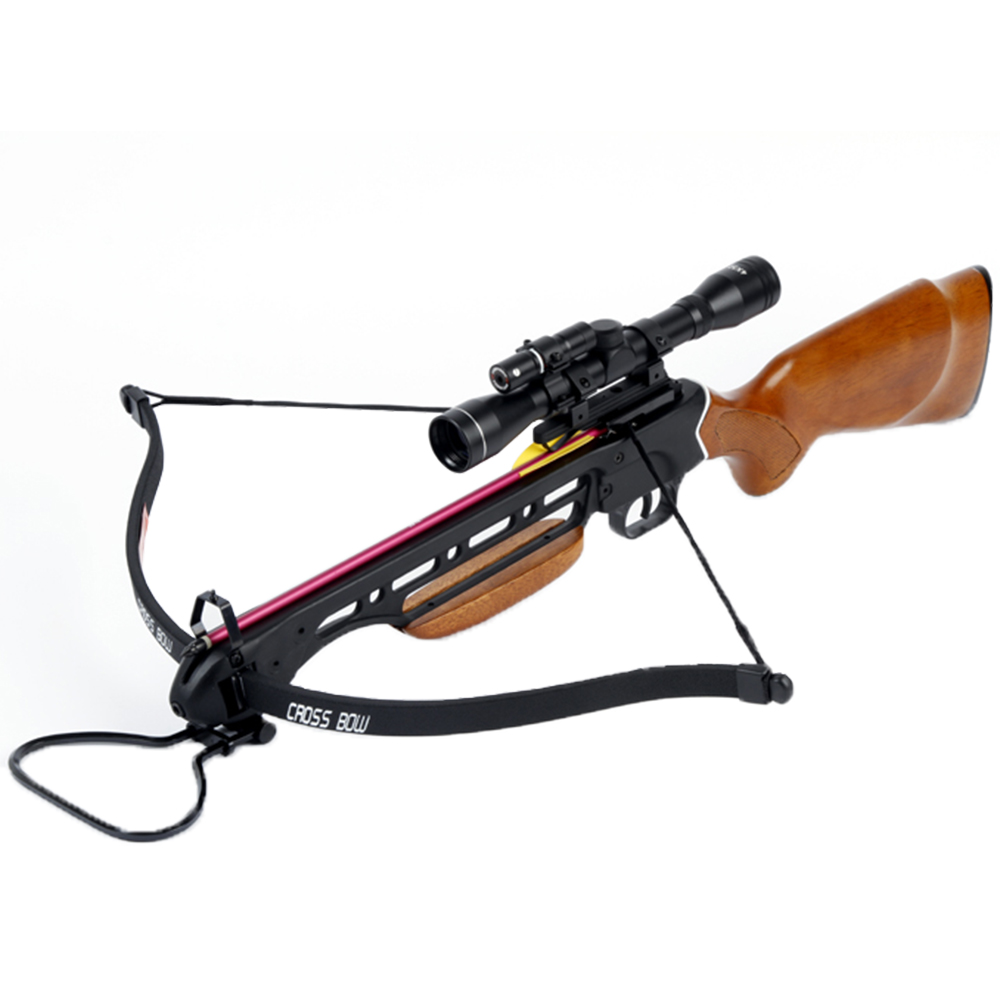
After you are done with the basic shape, you should fill it with some colors. Since this is a crossbow, I will be going with gray and brown. Do not add shading yet, as we will do that in a later step. You may want to look up a picture of some pictures of the texture you are trying to make. What I did is I took a picture and based the texture off of the picture, not 100% perfect. I suggest you do this to make it more original. Below is the next texture and the picture I used:

Stage 3
Now that you have the basic texture done, you should make it 32x32. If you are not doing this, then follow along without the 32x32 texture. Make sure all edges look smooth and there is no sharp points if you are making a texture like the crossbow above, unless its supposed to be sharp. Make sure you use the same colors for when you move to 32x32.

Stage 4
Now its time to make things look good! Add shading and when the color gets closer to an edge, try to make it darker, and if it is getting farther away from the edge, make it lighter, as this will make it look 3D, not unless it is a flat object. Try to make it look good and it will really impress some people when looking at your mod!

Stage 5
Now it is time to add in the real details! In this stage, I added in the crossbow string. What I did with that is I made it darker when closer to the edge and lighter in the middle. That is entirely optional, but anyways. Make sure to take a second look at the image you used and spot some details you may not of noticed before. You may also want to add shading to these additions to make it look more better. But thats it! Thanks for reading this, and no credit is needed if you use this tutorial for your mod!

Nice tutorial :)
Thanks :)
Nice technique :)
Starting from Silhouette makes it easier to outline shape of your texture :D