Topic category: User side tutorials
How to make a GUI with button images for MCreator 2021.3 in forge 1.17.1
Before: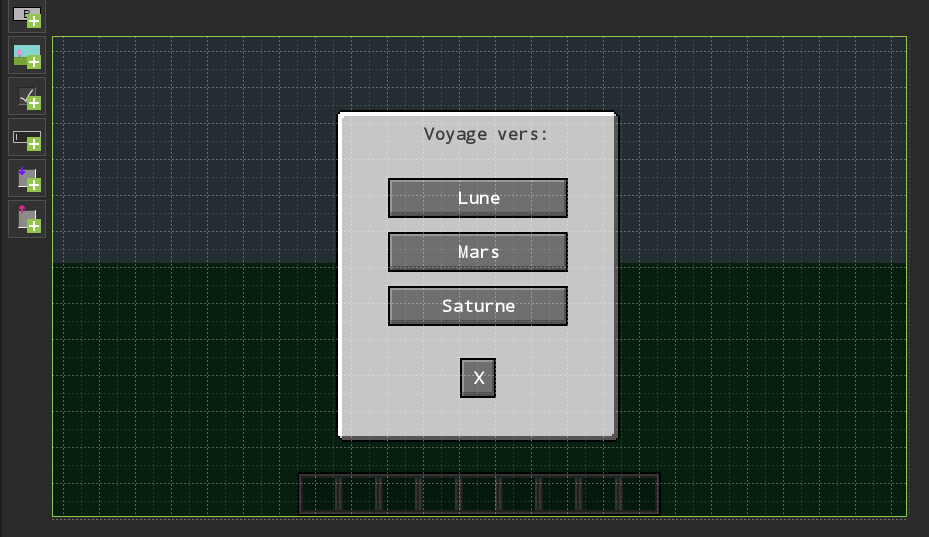
After: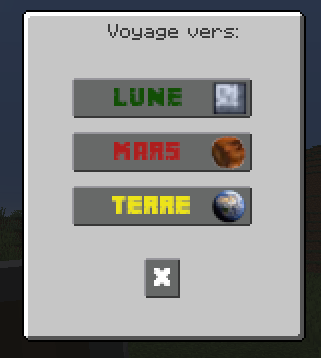
After with changing the background image and adding the avatar: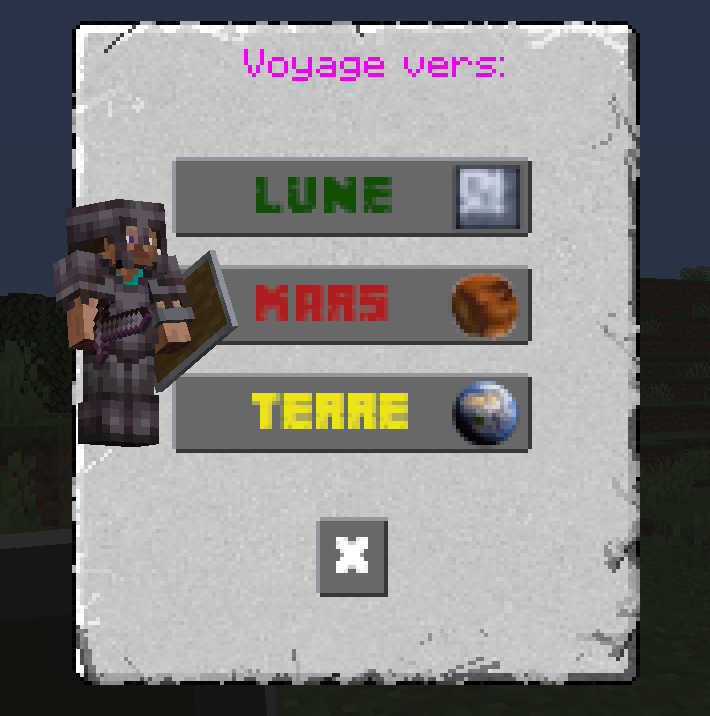
1 - Create a GUI with buttons and assign a functional procedure to the buttons.
2 - Edit the GUI code and select the file that ends with Screen.java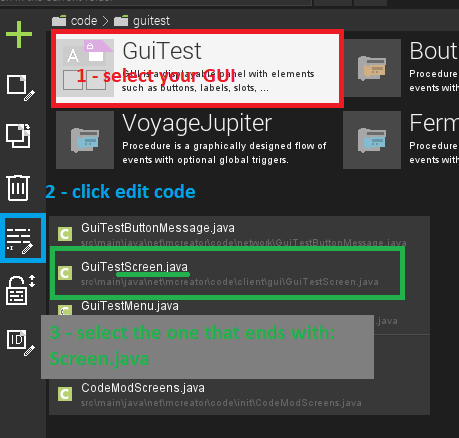
3 - In the imports add at the end the line:
import net.minecraft.client.gui.components.ImageButton;
4 - In your class add this line:
private static final ResourceLocation MYIMAGE = new ResourceLocation("MODID:textures/mytexture.png");replace MODID with the name of your mod and mytexture with the name of your texture which we will see below
5 - find the init() class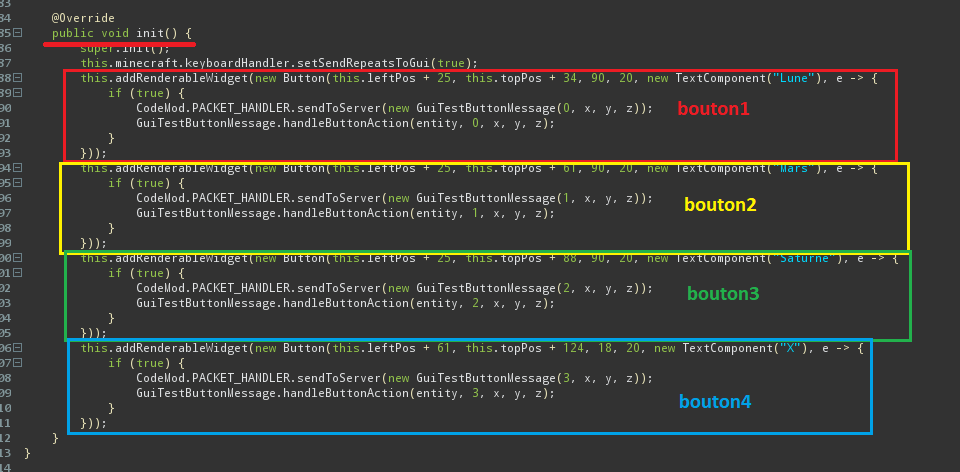
6 - comment each button with /* at the beginning and */ at the end
(optional, otherwise delete them, but note the numbers)
7 - Add this code by button:
        this.addRenderableWidget(new ImageButton(this.leftPos + 25, this.topPos + 34, 90, 20, 0, 0, 20, MYIMAGE, e -> {
         if (true) {
                CodeMod.PACKET_HANDLER.sendToServer(new GuiTestButtonMessage(0, x, y, z));
                GuiTestButtonMessage.handleButtonAction(entity, 0, x, y, z); // button action = 0
            }

         ((ImageButton)e).setPosition(this.leftPos + 25, this.topPos + 34);
      }));
8 - change ImageButton attributes for all buttons
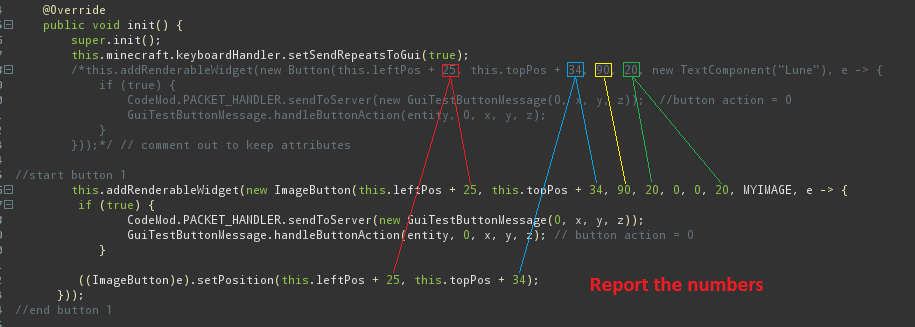
Explanation of ImageButton parameters:
ImageButton(PosX, PosY, WidthImg, HeightImg, nbPixelImageX, nbPixelImageY, SautEnPixelImageSurvol , IMAGE LOCATION, Action)
PosX = position of the button starting from the left of the GUI
PosY = position of the button starting from the top of the GUI
WidthImg = image width
HeightImg = image height
nbPixelImageX = offset in x of the origin of the image
nbPixelImageY = offset in y of the origin of the image
SautEnPixelImageSurvol = hover image y offset
IMAGE LOCATION = location of the image (see point 4)
Action = action when button is clicked
9 - for all buttons change action number
10 - for each image remember to shift the offset in x or y
Exemple

11 - close the code (cross in the tab)
Clic to 'Close and save'
and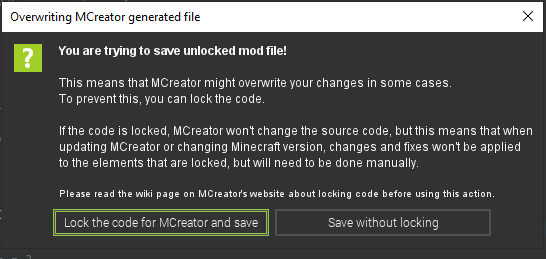
12 - Create a 256x256 image and save there in 'other'
exemple:
My image : https://mega.nz/file/Kl8zGSoZ#cAnWaQGZ-X6Y8So_OoLBcuz0LBMFZLKeQ7kPEvEIKOI
According to the name of the image, modify the code of part 4
Code before : https://paste.ofcode.org/a7yhRLUEuNww7k2zR8G8rX
Code after : https://paste.ofcode.org/PFcbJW6GBLkeGa4weAPLg
Sorry for my english! I'm french
Creadoo89
my youtube channel: https://www.youtube.com/creadoo89
Nice tutorial, pinning the forum topic :)
nice tutorial, a youtube video in english would be very very helpful too
Sorry for the rather stupid question.
Is it universal? Or does the code look different on version 1.16.5?
My English is too bad to make a video, sorry!
This tutorial works with forge 1.17 and it seems to me for the next version of forge, but I think the code is different in forge 1.16.5!
Doo89 Add Subtitle/CCs on your YT videos.
Man, you are legend! I hope I find a way to find out code changes between 1.17 and 1.16 for that, but this tutorial is so gold, especially as custom buttons are things we await in MCR for long time <3
can you please make a tutorial for custom button shape?
You can do that with this tutorial, you don't have to keep the button texture as a square/rectangle
we are waiting for a tutorial on 1.16.5)
Hey Doo89, how do I make this code work with a "button display condition" procedure and also a "on button clicked" procedure at the same time?
This is amazing.
@endcollector I am not sure exactly how/if this would work, but it seems like you could add an else statement to the for the init class and set the the initital statement to "if variable/tag== true" and then reset the click procedure and image location to be nothing.
Works on 1.18.2?
I can confirm this still works pretty well in 1.19.2, (with a few minor modifications- it took maybe five minutes of messing around with the code to get it working properly.)