Topic category: Advanced modding
First, I recommend using Block Bench to make your models, as Techne is outdated and broken, and doesn't seem to work for this. I won't be giving a guide on how to use Block Bench as there are tutorials for that already, just how to make your model work with armor.
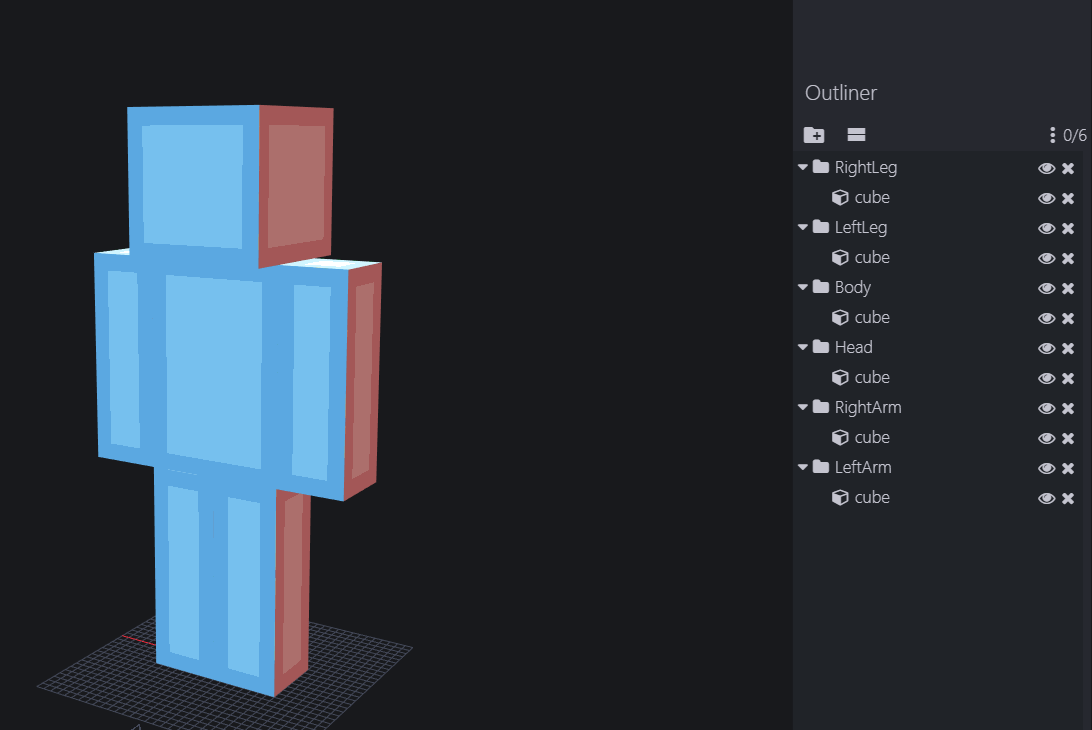
When making your model, you want to make sure everything you make is within groups. And you must have a group for each body part, head, body, right arm, left arm, right leg, left leg. For the boots, you're going to want to make a separate group exactly the same as the legs. When modeling the actual armor pieces, you want to make sure each piece is under the corresponding group you want it to be moving with. For example a helmet you made would be under the head group.
It is also VERY important the group's origin points are the same as the player model, so that they rotate together.
I recommend making a plain biped model to help guide you, but it is not required.
Example of how the groups are supposed to be set up:

For a player model, the origin points are:
- Head and Body: 0, 24, 0
- Right Arm: 5, 22, 0
- Left Arm: -5, 22, 0
- Right Leg: 2, 12, 0
- Left Leg: -2, 12, 0
After you're done, export it, and when MCreator asks which parts to animate, you can skip that, as that doesn't do anything.
When making your armor, select the group for each corresponding body part. Don't worry about the arms for now, for the helmet choose the head group, for the body choose the body group, and for the legs and boots, choose the left leg group for "L" and the right leg group for "R"
Animating arms is little bit more complicated as it requires you to put two lines of code:
NOTE: You must change the part where it says "name of x here" to whatever you made the name of the group for that body part in Block Bench.
Under this line of code:
armorModel.bipedBody = new NameOfModelHere().NameOfBodyHere;Put in these two lines of code.
armorModel.bipedRightArm = new NameOfModelHere().NameOfRightArmHere;
armorModel.bipedLeftArm = new NameOfModelHere().NameOfLeftArmHere;
After that everything should be working and animated!
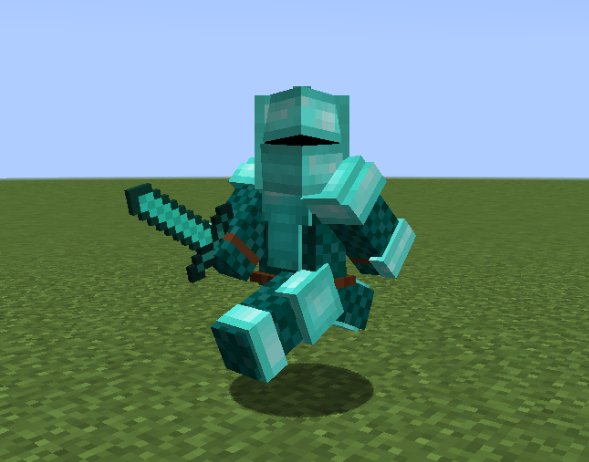
Example of it working on armor:

If you have questions or need help leave a comment.
This is a great tutorial, but I still have a few questions as my attempt to import my armor did not work. Here is the issue I am having and the details:
ISSUE: When I try to run the game, it gives an error saying that Mcreator needs to recompile as one of the elements is not compiling correctly. I tried this, but it does not help. After wards, he armor is now listed as "compile errors". and the test game will not load.
Process:
I created a new geckolib armor file in Blockbench.
I did NOT rename any of the folders and all cubes are in their respective folders.
I am using geckolib animation utilities V4.0 on Blockbench
On Mcreator, I am running version 2024.3 and the newest version of geckolib (downloaded two days ago)
My model files are saved on my desktop and I export the animations and geckolib armor files here too.
Then I import the armor and animation file to mcreator. It does NOT prompt me for the texture file, so I manually imported it in as an "item" texture because this is the category of textures that the drop down menu looks for.
My animation does not do anything. I do not have any special animations that I want to run, I just want the custom shape and look of the armor I made.
I typed in "idle" in the idle animation section per the instructions.
I tried to add the console message below but it is not letting me add that much text
So how i make in BB moded entity samler cubes than 1x1?not let me